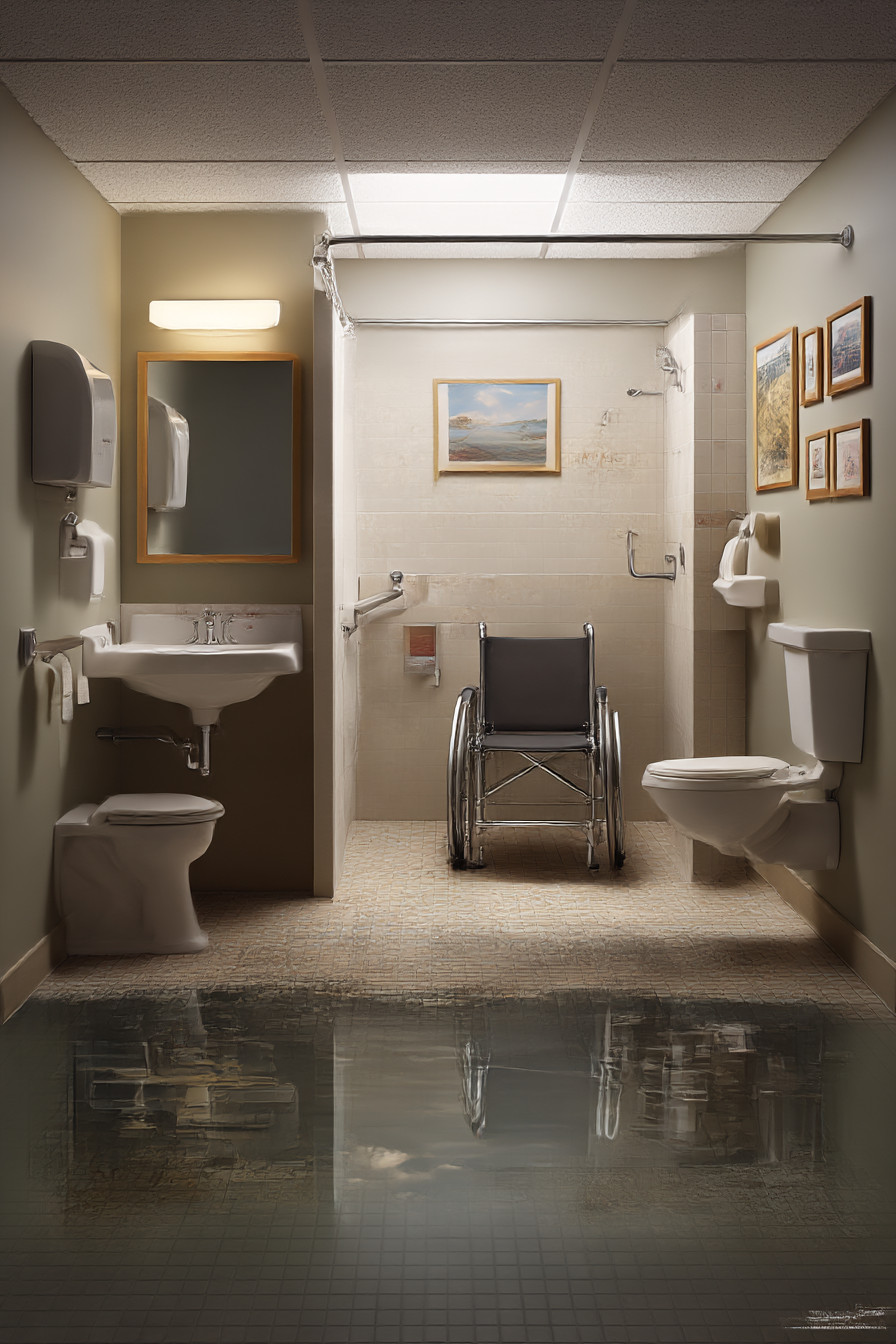
“I’m sure many people have come across a situation where a person in a wheelchair has trouble navigating through a typical bathroom. I certainly did when my aunt stayed with us after she had her hip surgery. When she saw my pretty, Instagram-perfect powder room, complete with a pedestal sink and very narrow doorway, she simply stated, ‘Well, I suppose I’ll have to hold it for the next three hours.'”
This experience immediately opened my eyes to how differently I should be considering the design of bathrooms. Yes, my space looked like it belonged in a magazine with its subway tile and vintage brass fixtures, but it was of absolutely no value to someone who used a walking frame. For the remainder of the week, I began researching accessible design. Honestly? I was amazed at how much of a difference these features could make in making bathrooms usable for everyone — not only individuals with mobility impairments.
First, I addressed the issue of the doorway. Typical bathroom doors are generally 24 inches wide; this really only accommodates most people and definitely does not accommodate individuals using mobility devices. I widened mine to 32 inches (this involved doing some drywall surgery and producing a huge amount of dust), but the difference it produced was amazing. I even found that on everyday occasions it made carrying laundry baskets or cleaning supplies significantly less difficult. I was concerned that my contractor would be hesitant to accept the additional cost of approximately £400 for the structural alterations, but now I am not certain why narrow doorways were ever considered acceptable.
Next, I dealt with the grab bars. This is where I had to quickly overcome my aesthetic reservations. I had always associated them with clinical, hospital-like bathrooms, but the newer designs are truly fashionable. I selected matte-black bars that appear to be intentionally architectural as opposed to medical. The important thing is location — they need to be placed where they will provide actual assistance as opposed to looking the best. I located one adjacent to the toilet (this provides support for both sitting and standing), two in the shower (one horizontal and one vertical to meet the requirements of each type of support), and one by the entrance. The installation was expensive (approximately £80 per bar plus the cost of the installer), but the grab bars are attached to wall studs so they can support considerable amounts of weight.
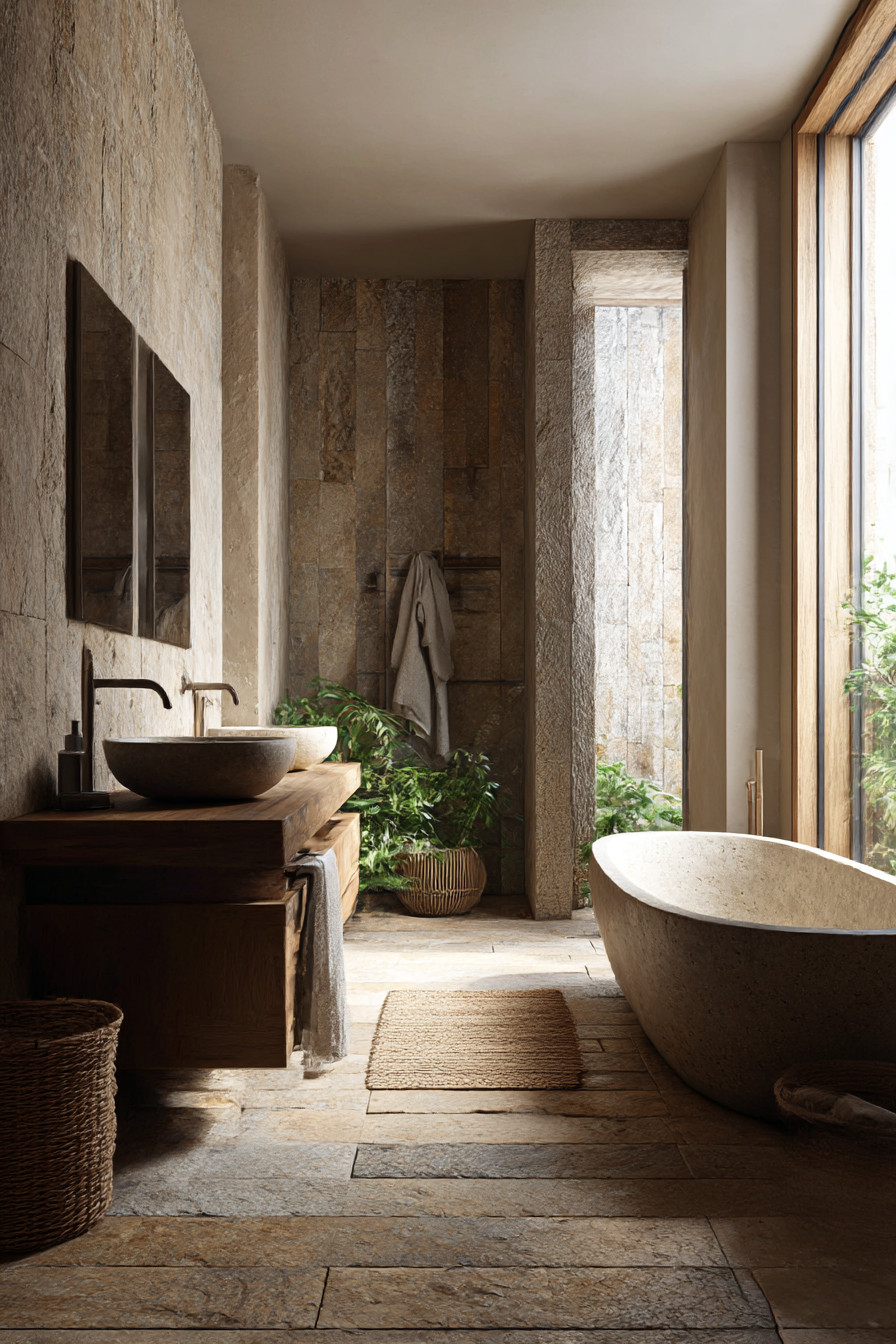
The transformation of the shower area was perhaps the most significant change. Out went my beautiful but entirely impractical raised shower tray with a 2-inch lip that I had been tripping over for years anyway. In came a walk-in design with virtually no threshold — possibly half an inch to prevent water from leaking out. I opted for a linear drain along one wall as opposed to a central drain, which allowed the entire floor to slope gently in one direction. Much easier to maneuver for wheelchairs, walkers, etc., or anyone who may not be steady on their feet.

Honestly, I worried that the new shower would be duller than the original configuration. However, the seamless floor creates a feeling of space and appears more contemporary. The textured non-slip tiles I selected (with a minimal texture that does not feel rough to the touch) function well, and the handheld showerhead mounted on a slide rail allows every user to adjust the height to their preference. My nephew, who is somewhat shorter, enjoys lowering the showerhead without needing to ask for assistance.
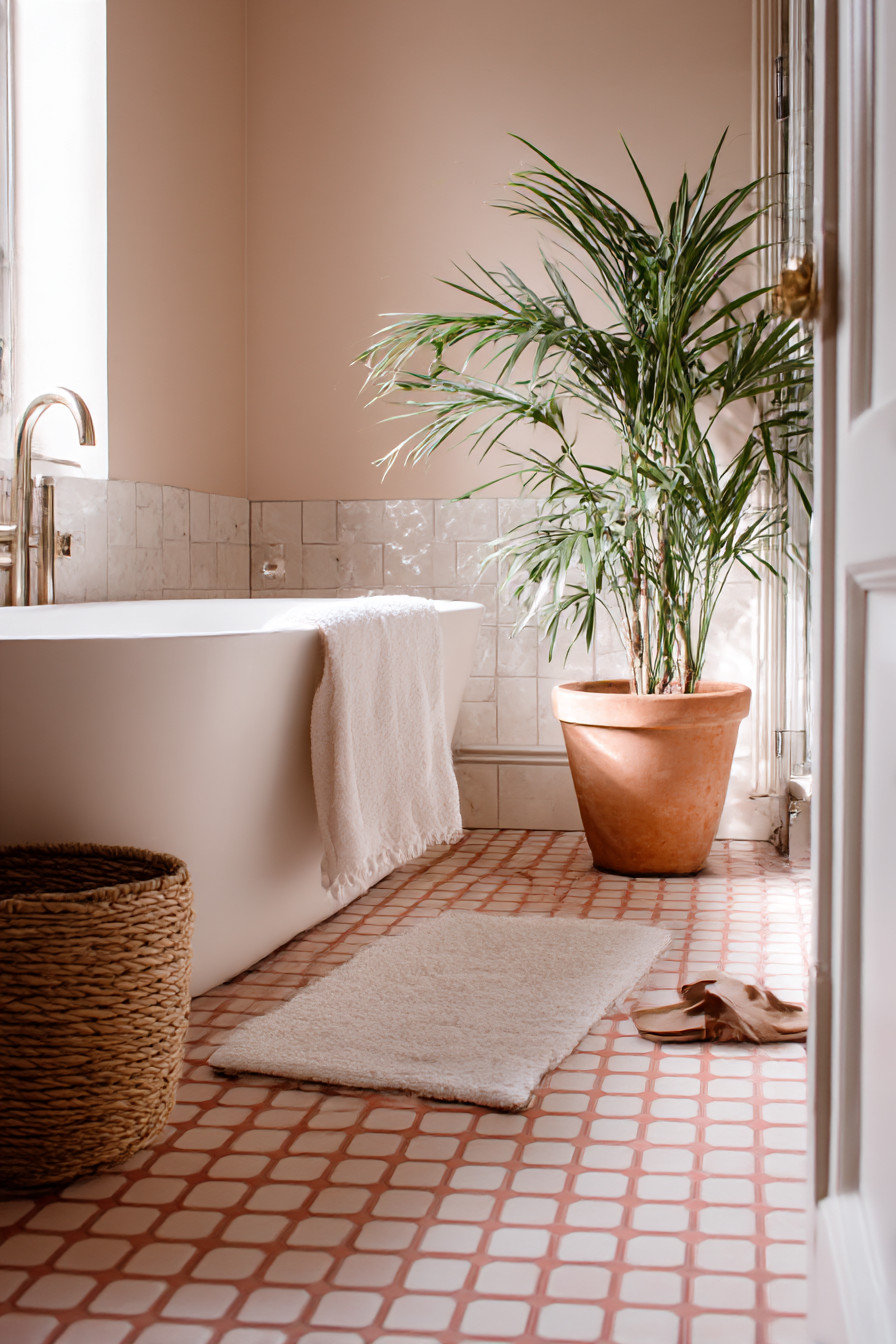
Revising the pedestal sink was another major improvement. Pedestal sinks may seem aesthetically pleasing, but they are useless if you need to either sit down or get closer to a sink in a wheelchair. I installed a wall-mounted sink with an empty space beneath it — much more useful for everyone. A secondary advantage of installing a wall-mounted sink is the availability of additional storage and ease of cleaning the floor. I chose a sink with a slightly deeper bowl to reduce splashing, and the single-handle faucet is simpler to operate than my old separate hot and cold handle faucets.
The addition of lighting was critical as soon as I realized the importance of visibility issues. I installed LED strips below the medicine cabinet and around the mirror to remove shadows — it seems that this assists all users with seeing more effectively while applying makeup or shaving, not merely those with visual impairments. The strips cost approximately £60 and took an afternoon to install, but what a difference. I also installed a motion sensor light for nighttime trips — no more fumbling in the dark for the light switch.
Standard toilets are typically about 15 inches in height. Comfort height toilets range from 17 to 19 inches and make sitting and standing significantly easier. When mine needed replacement, I elected the taller version. The taller version cost roughly £50 more than a standard version, but now I hear that everyone finds it much more comfortable.
Storage needed to be completely reevaluated as well. High cabinets are useless if you cannot reach them, therefore I relocated all necessary items to lower shelving and drawers. I installed pull-out drawers within the vanity — so much better than having to dig through the rear of stationary shelves. The higher cabinets now store items such as excess towels and cleaning products that do not require daily access.

A mistake I made early on was selecting lever-style door handles that appeared to be visually appealing but were actually more difficult to utilize than I anticipated. The handles I selected featured a sharp edge that would catch on clothing and were slippery when wet. I substituted the handles with curved handles that are easy to grasp and operate — occasionally the most aesthetically pleasing solution is not the most functional.
Color selections proved to be more important than I initially anticipated. Higher contrast between walls, fixtures, and floors assist individuals with visual impairments to safely navigate. I retained my white subway tiles but utilized a dark grout line. I also chose a vanity in a deep navy color that is easily distinguishable from the light-colored walls. Actually, it looks far more sophisticated than my prior all-white arrangement.
What surprised me the most was how all of these modifications enhanced the bathroom for everyone, not only for those with mobility issues. The broader doorway, improved lighting, more comfortable toilet height, and increased accessibility for storage create routine activities more effortless for all members of my family and guests. The space feels larger and more thoughtful rather than cramped and awkward.
Overall, the expense was substantial — approximately £3,500, including labor — but distributed over several months, it seemed affordable. Most importantly, I know that this bathroom will function for me as I grow older, for elderly relatives who visit, and for anyone else who may need accommodations in the future. That is not only good design — that is smart planning.