If you are going to install wallpaper in your main bathroom, do not expect anyone to tell you that you are making a bad decision. “This is a terrible idea,” “The steam will ruin it,” “It will need to be replaced in six months.” When you mention wallpaper in your bathroom to your contractor he will raise his eyebrow and whisper something about moisture damage to himself as he shakes his head.
However, it has now been two years since I installed botanical wallpaper in my main bathroom. In that time I have yet to see any bubbles, peels or water stains. It turns out that with the right preparation and protection installing wallpaper in bathrooms does not have to be the disaster that everyone claims it to be.
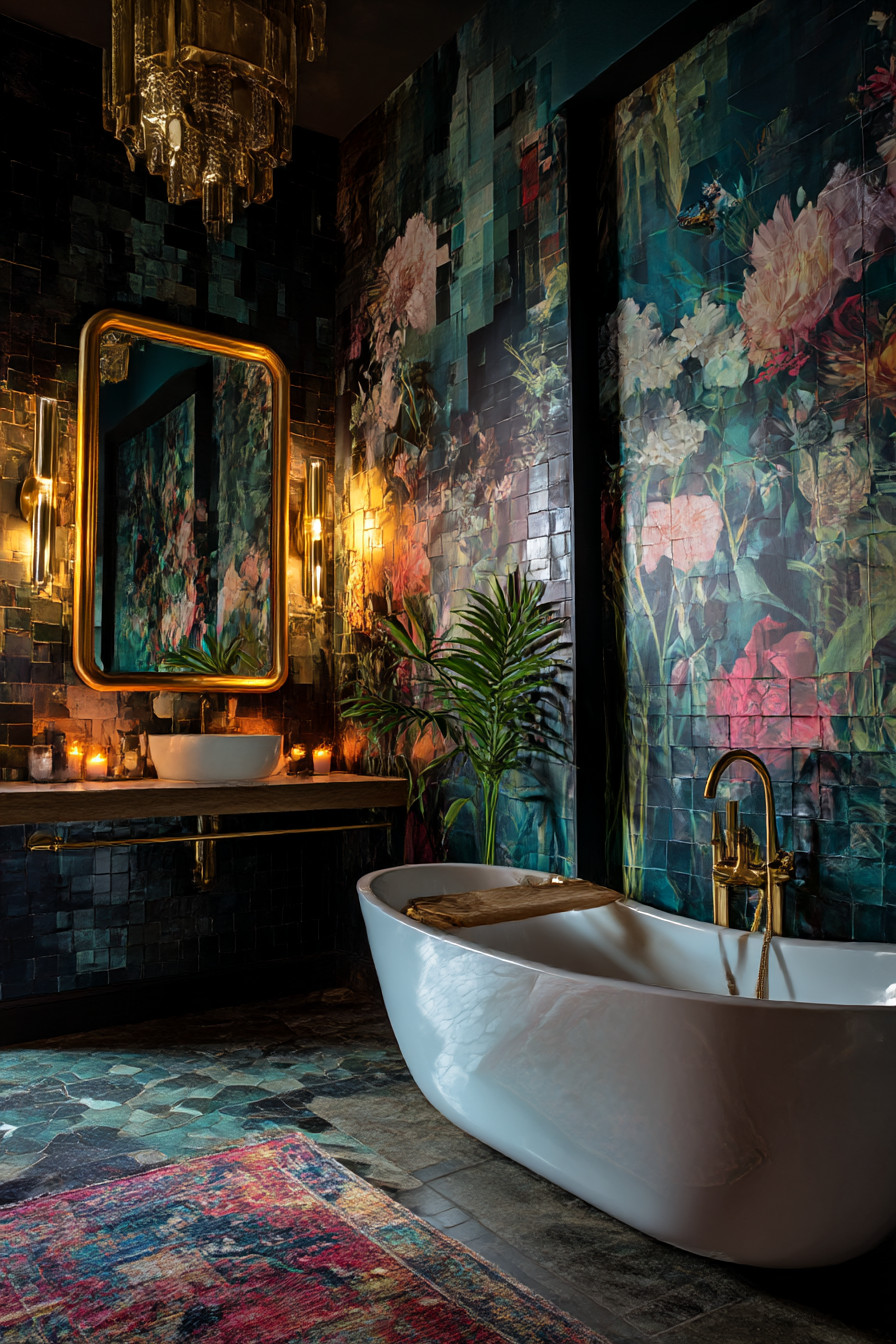
I started with my powder room. Honestly, it was the safest place to test my idea. There was no shower, very little moisture and a small space that desperately needed some personality. The walls were that boring white that builders paint their walls and the room felt like a doctor’s office waiting room. I’d collected wallpaper samples for months (months – yes, months – I’m that person that collects pretty paper scraps) and I kept going back to this William Morris-inspired print with deep green colors and intricate botanical details.
Installing the wallpaper was… well, I learned why people pay professionals. On my first attempt to get the pattern matched it looked like a child had taken the wallpaper sample and cut it with safety scissors. I ripped it all off and began again, this time measuring twice and cutting once (just like my Dad always told me to). On the second try the seams were perfect, the patterns were lined up and I stepped back and thought to myself, “Yes, this is exactly what this room needed.”
Where things got really interesting was after I completed my powder room. The powder room success gave me the courage to go ahead with wallpapering my main bathroom, the one with the shower that gets used twice a day and produces a lot of steam. Everyone thought I was crazy. However, I had done my homework. The secret to wallpapering a bathroom is not to avoid the moisture — it is to manage the moisture. I began by applying a primer specifically formulated for areas that are exposed to high humidity. Not just any primer, but Zinsser’s Bulls Eye 1-2-3 which creates a kind of plastic film between the wallpaper and the wall. I applied two coats, and waited until each coat was completely dry before applying the next. I waited 24 hours between coats. A long wait, but patience is important in wallpapering.

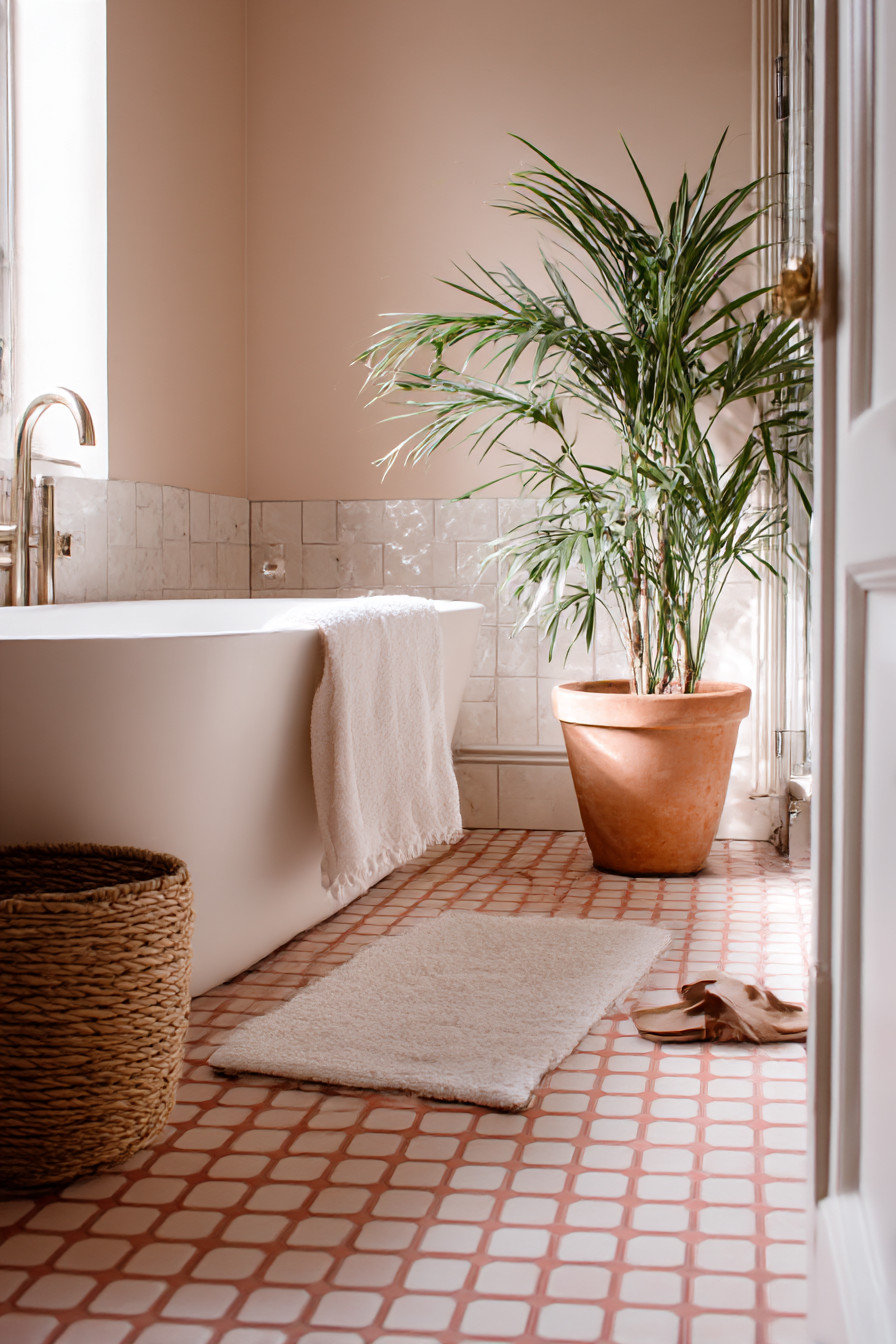
Next was choosing the wallpaper. This part is critical. You cannot simply pick any wallpaper and assume it will work. I selected a vinyl coated wallpaper. Still a beautiful option, but it comes with a protective layer that protects it from the occasional splash and humidity. The design I picked was a beautiful damask in soft blue and gray tones. The style was sophisticated enough to give the impression of being an adult, but not so busy that it overwhelmed the small space.
The actual process of wallpapering my bathroom took an entire weekend. My back hurt from the bending, stretching and smoothing the paper, and I drank a minimum of six cups of tea and ate two packages of biscuits (stress eating is very real when you’re trying to align patterns with light switches). However, seeing the transformation of the bathroom from a blank beige box to a luxurious oasis was totally worth the pain.
What I learned about protecting bathroom wallpaper that no one ever tells you is that ventilation is the key. I replaced our exhaust fan with one that actually vents the steam out of the bathroom quickly. Our previous fan was just decorative; it made a lot of noise, but did not vent the steam efficiently. The new fan vents the steam in less than 5 minutes after a hot shower.
In addition to the fan, I applied 3 coats of a transparent protective coating over the top of the wallpaper, focusing on areas close to the sink and shower. While it is barely visible, it provides additional protection against the moisture. Many people will skip this step because they believe it is unnecessary, however, after 2 years of constant use, I am confident that it has helped maintain its appearance.
The true test came when our heating system quit working in the middle of January (the coldest month of the year) and we were left without heat. The house was so cold that condensation formed on all surfaces of the house, including the bathroom walls. I was certain that I would find bubbled, peeling wallpaper when the heat returned. To the contrary, the wallpaper remained perfect.
Cleaning has also been much easier than I anticipated. I simply wipe it down with a damp cloth on a weekly basis when I clean the bathroom. I do not use any specialized products or dainty cleaning techniques. The vinyl coating on the wallpaper allows me to clean it normally.
As for the price, it was relatively affordable, especially compared to tile or other premium wall coverings. The cost of the wallpaper itself was approximately £45 per roll. I required 4 rolls for the main bathroom. Adding in primer, adhesive and sealant, the total cost was approximately £220. When comparing this to what good quality tile would have cost, I consider this to be a great value.

But beyond the functional advantages, there is something special about walking into a beautifully decorated bathroom each day. It gives the feeling of being intentional and somewhat luxurious. Friends often compliment the sophistication of the look and honestly, it makes everyday routine tasks seem a bit more fun.
My powder room project turned into wallpapering my hallways, then the dining room and now I am eyeing the bedroom. Once you realize the impact that quality wallpaper can have on your home, regular paint seems a bit dull.
So here is my recommendation. If you are hesitant, begin with a small space. Try a powder room or a small hallway. Apply the correct primer, select vinyl coated wallpaper for humid spaces, protect the wallpaper adequately and invest in a good ventilation system. Do not let others’ fear prevent you from trying something that can potentially transform your home.
Two years later, those botanical walls still make me smile every morning. Occasionally the worst ideas become the best.