It’s funny how quickly we grow accustomed to our surroundings. In many ways, my flat – and specifically the bedroom — is still essentially a cupboard. (No windows; it’s situated centrally in the building surrounded by adjacent neighbours’ walls.) For three years, however, I’ve managed to transform this dingy, windowless ‘cupboard’ into a living space that is fairly comfortable and surprisingly enjoyable to be in. So much so that friends often express surprise when they hear that this tiny, completely windowless space is in fact their bedroom.
That said, I clearly didn’t achieve this transformation overnight. Along the way, I made some serious blunders. One of my initial ideas was to celebrate the lack of natural light in the room. As part of this plan, I chose to paint one wall a deep, rich navy, hoping to capture that moody, sophisticated bedroom aesthetic you see in interior design publications. While the colour looked fantastic in the tin, it looked abysmal on the wall. That particular choice made the space feel even more cramped and claustrophobic, like I was sleeping inside a shoebox (which in reality, I probably was). The sheer darkness of the navy paint simply amplified this sensation.
Within a week of painting the wall that colour, I had repainted it. This experience taught me a valuable lesson regarding testing colours prior to applying them. Since then, I’ve made sure to purchase sample pots of paint and let them sit in the room for a minimum of seven days before committing to using anything larger than a bathroom.
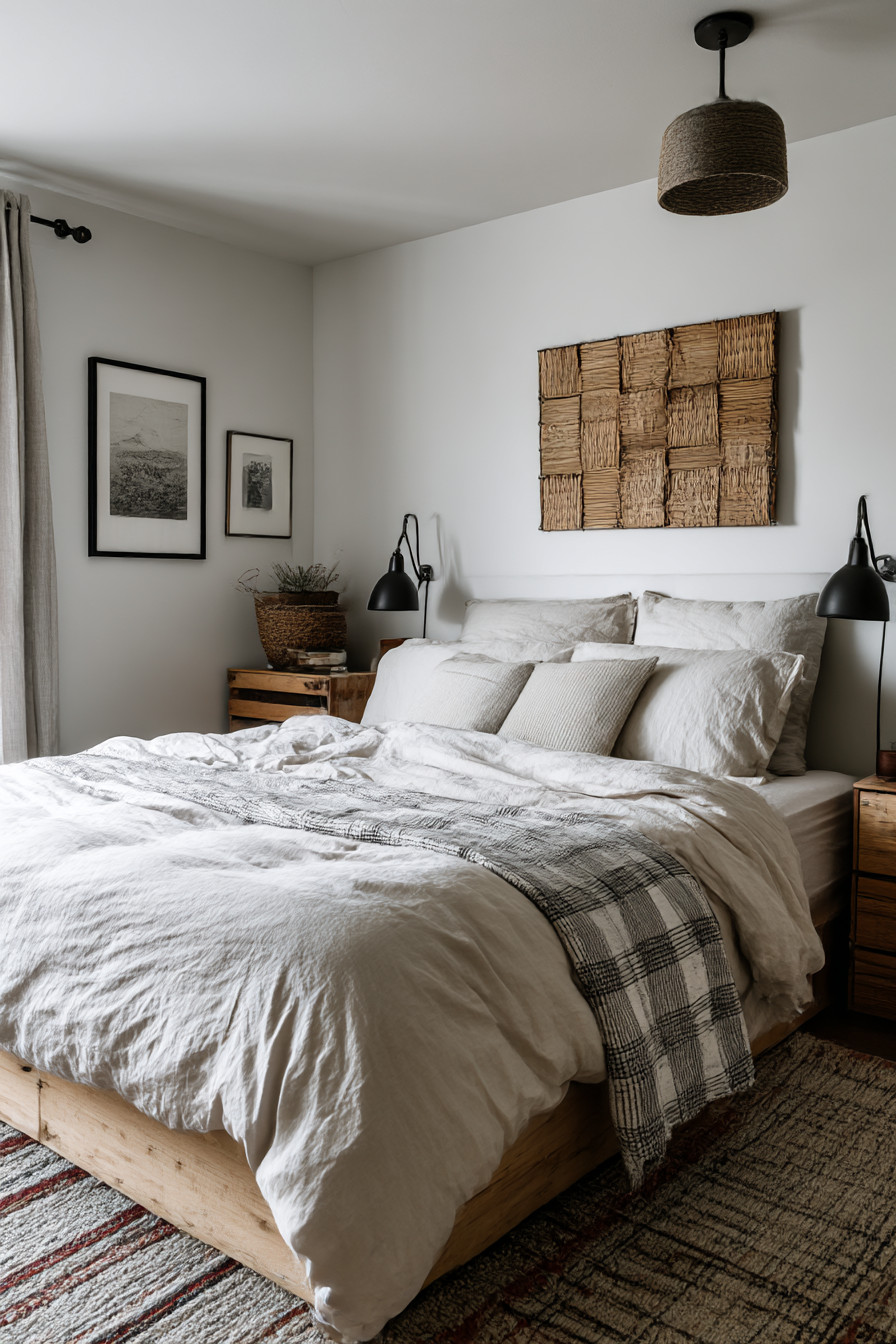
To succeed in transforming a space like mine into a usable, habitable area, you need to use as little light as possible without losing that ‘sterile white box’ aesthetic. After considerable deliberation, I ultimately decided to use String by Farrow & Ball on the main wall behind my bed as my primary colour. Yes, I understand that £50+ per pint may appear excessive for a room as small as mine; nevertheless, this decision proved to be well worth the investment. Each of the remaining walls were subsequently painted in a very pale grey that reads almost white yet provides sufficient warmth to prevent the overall atmosphere from feeling like that of a hospital wing.
Something that many people fail to consider when attempting to transform a windowless bedroom is the ceiling itself. To counteract this issue, I painted both the ceiling and main feature wall the same cream colour. A game-changer. This creates a visual illusion whereby your eye cannot determine precisely where the ceiling stops and the wall begins. Thus, the entire space appears taller and more spacious than it truly is. It’s not unlike visual deception but apparently it works.
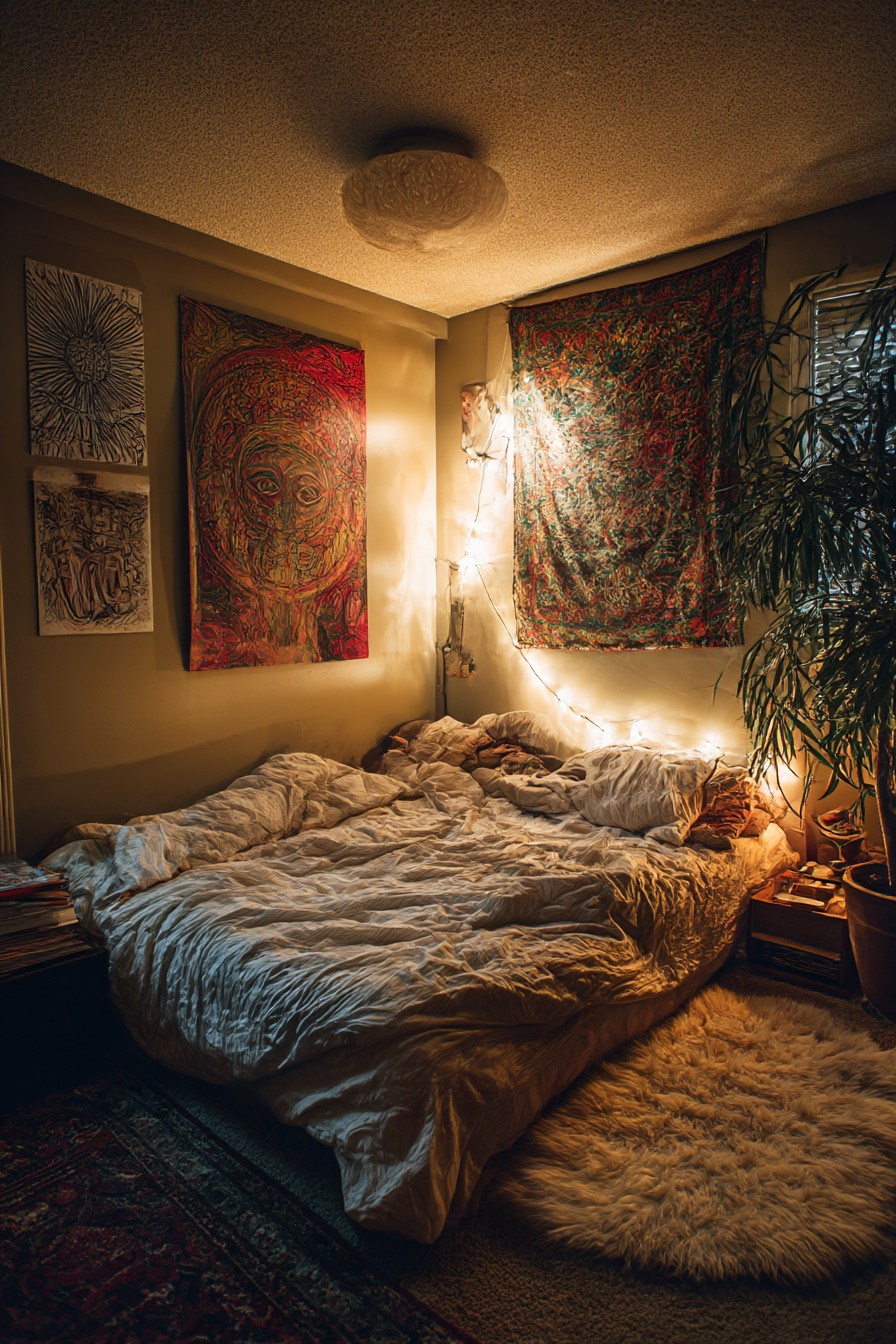
Following my decision to remove the original overhead bulb (which produced lighting akin to that found in a police interrogation room) and install an assortment of alternative light sources throughout the room (a.k.a. “my light layering system”), my girlfriend began jokingly referring to me as “the Lighting Guy.” Prior to this, she stated that she knew virtually nothing about colour temperatures or lumens. The initial configuration consisted of an LED strip attached behind my headboard producing a warm white glow. These provided ambient lighting around the bed area and provided a sense of relaxation. Although I purchased these for approximately £40 on Amazon, they were extremely easy to attach via an adhesive backing and took no more than twenty minutes to install. Immediately upon installation, the room appeared less confined.
In addition to providing adequate lighting around the bed area, two brass adjustable bedside lamp fixtures (obtained for £15 apiece at a local car boot sale although they necessitated being rewired due to their previous owner having performed something dubious with the electrical wiring) helped greatly to improve the ambiance of the room. The illumination produced by these lamps was sufficiently strong for reading purposes yet provided sufficient warmth that they did not produce a clinical environment. Balancing these factors appropriately presented a significant challenge.
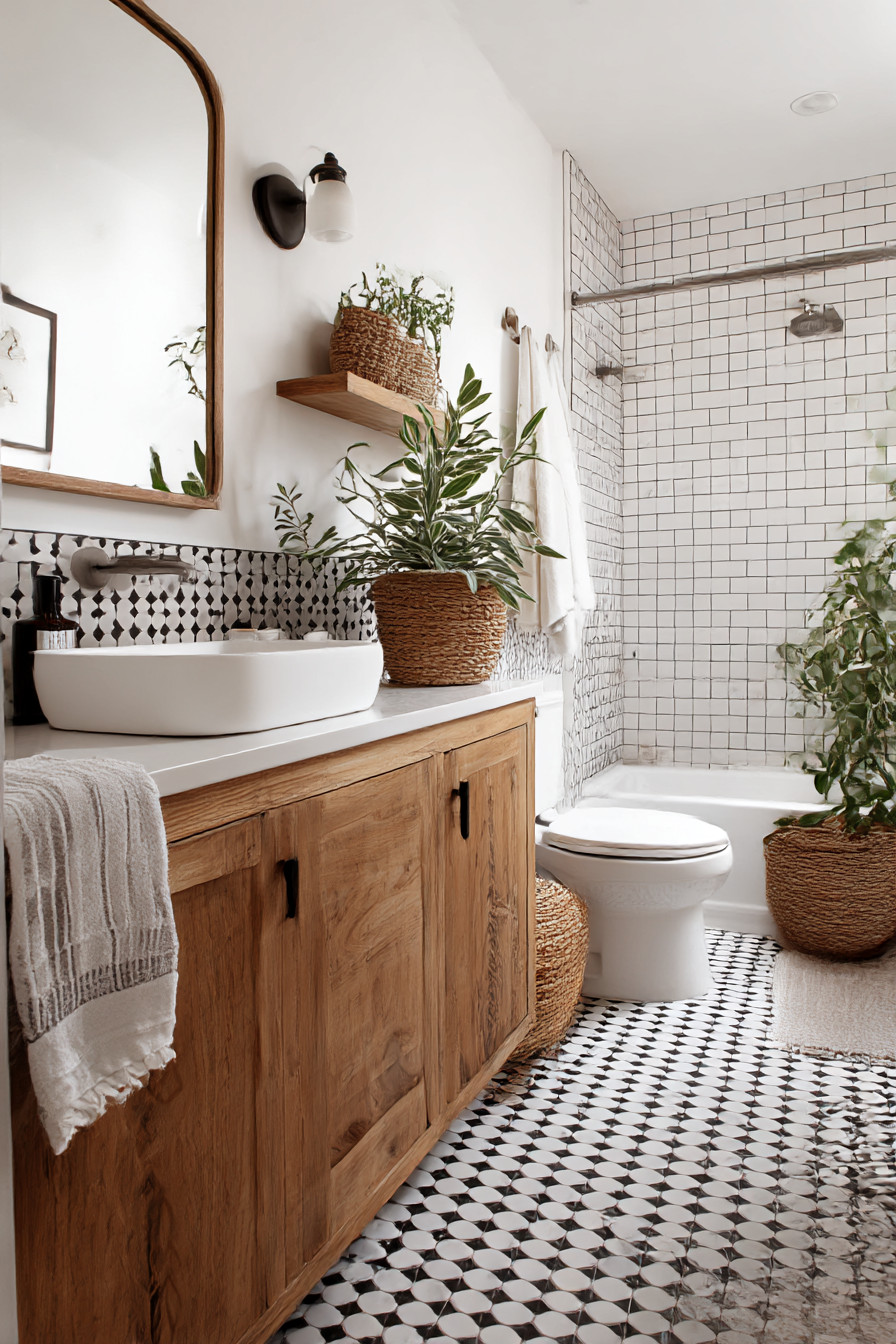
However, the greatest revelation during this process was the impact of mirrors. Many individuals claim that mirrors can produce a feeling of greater spatial volume in small areas; this is indeed true. However, placement is everything. I installed a large round mirror from IKEA in front of the doorway (approximately £30), and then proceeded to spray paint its frame gold to provide it with a more luxurious appearance. Upon entering the room, the first thing visible is reflected light as opposed to a darkened wall. Additionally, I positioned a smaller mirror on the opposing side of the bed wall so as to allow light to bounce between these two mirrors and create an additional minor brightening effect.
Finally, I installed a full length mirror on the rear of my door. This served dual purpose — it allowed me to dress while viewing myself in a full-length image; additionally, it reflected any available hallway light through the open doorway whenever necessary (this occurs far more frequently than you might expect).
As previously mentioned, none of these solutions involved great expenditure — merely creatively placing existing IKEA mirrors.
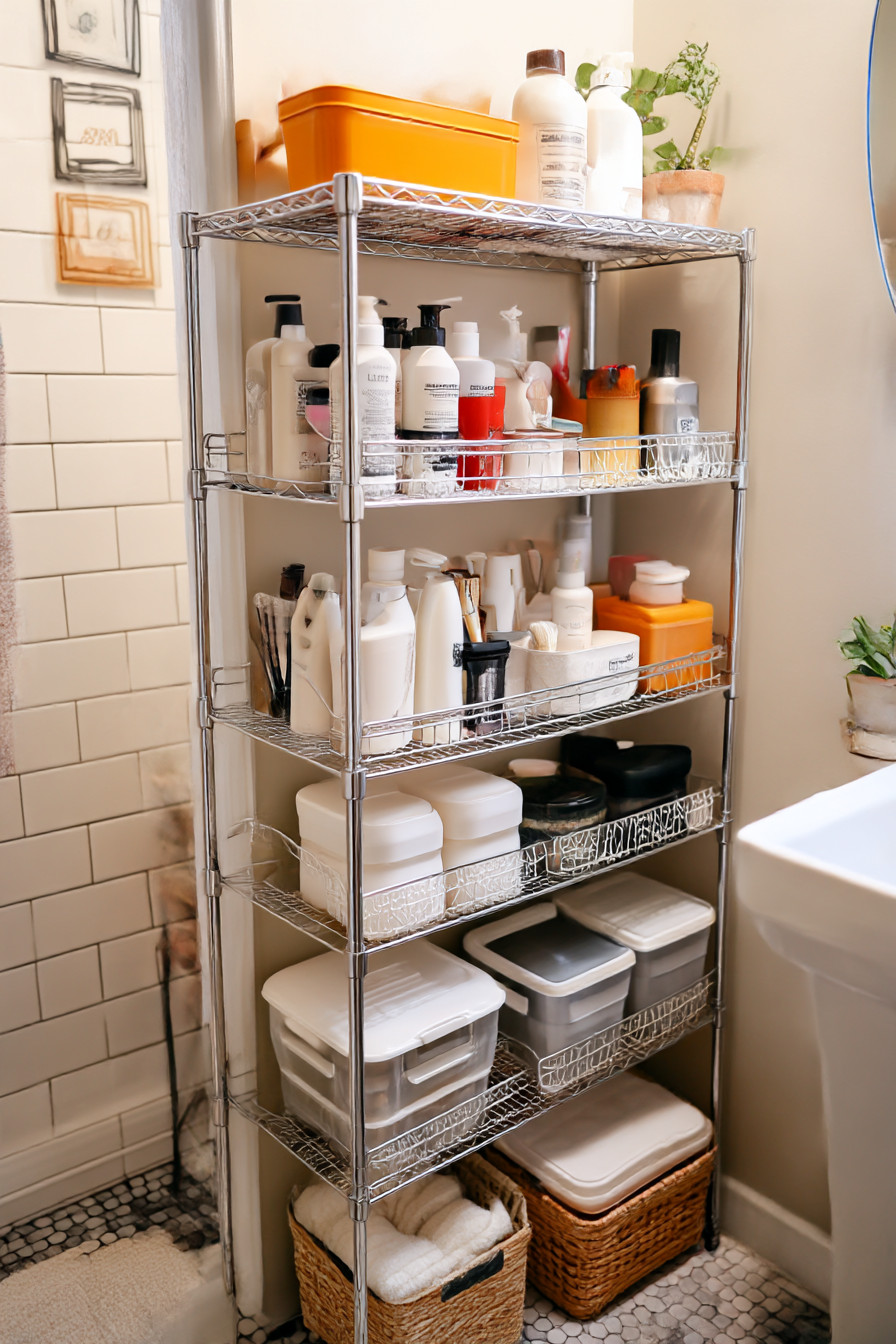
Another area requiring attention was storage. Cluttered spaces — particularly those void of natural light — will always appear smaller. Consequently, I acquired a bed frame with integrated drawers below it (undoubtedly one of the smartest purchases I have made concerning this room). Currently, all my cold weather clothing and spare bedding reside in these drawers. Additionally, I installed floating shelves near ceiling height on all four sides of the room — these serve to draw your eye upwards towards the ceiling while providing ample shelf space for storing books and decorative items.
Addressing storage needs related to wardrobes necessitated some out-of-the-box thinking since installing traditional bulkier wardrobes would have occupied nearly all available floor space in the room. Therefore, I opted for hanging rails along one wall and installing a light-coloured curtain in front thereof. The total footprint of these railings/curtains combined is significantly smaller than that of solid doors; furthermore, I am able to pull back the curtain entirely when desiring a more open feel.
Many people fail to warn others of an unpleasant characteristic associated with windowless bedrooms — namely that they become unbearably hot/stuffy rapidly. Accordingly, I purchased an air purifier that operates continuously — not solely for air purification purposes but due to the white noise generated by its operation also helping me fall asleep more easily. Proper air flow prevents that stale/claustrophobic feel that can exacerbate feelings of oppression in dark areas.
Due largely to the extreme lack of natural light present in this room, I was concerned that maintaining plants would prove impossible. Fortunately, I managed to successfully introduce some low-light tolerant flora into the space. A snake plant resides in the corner of the room and appears to thrive regardless of its location; likewise, I’ve trained some pothos plants to trail down from high shelving units surrounding the room. Both species appear content with minimal amounts of artificial lighting emanating from my LED strips.
Surprisingly, perhaps more than any other aspect of this conversion process, my bedding selections have contributed to an enhanced degree of brightness within the room. The primary components include white sheets and a light grey duvet cover. Nothing extraordinary; however, considering the amount of natural light present in this space — i.e., none — every element contributing to increased brightness is beneficial. I’ve used a combination of textures (chunky knit throw in cream) and soft pastel shades (linen cushions) to maintain interest within the space while avoiding overcrowding.
One mistake I undoubtedly made early on was purchasing black-out curtains designed specifically for hanging across doorways. Initially intended to enhance privacy/soundproofing issues stemming from adjacent apartments/rooms; however, these curtains effectively converted my room into an actual bunker. Subsequently replaced with lighter coloured fabric panels allowing for maximum daylight penetration while providing reasonable levels of privacy when desired.
Overall, converting this room has taken roughly six months and has cost approximately £800 including paint, various forms of lighting (mirrors), storage solutions etc. While certainly not inexpensive (£800 is equivalent to roughly five weeks rent); I’ve attempted to spread these costs out over time rather than absorbing them all at once thereby rendering them slightly more manageable.
And in retrospect? I sleep better in this windowless room than I ever did in locations with plenty of natural light. There’s something quite calming about residing in a space that is detached from external influences and has been created to be inviting rather than claustrophobic/dark